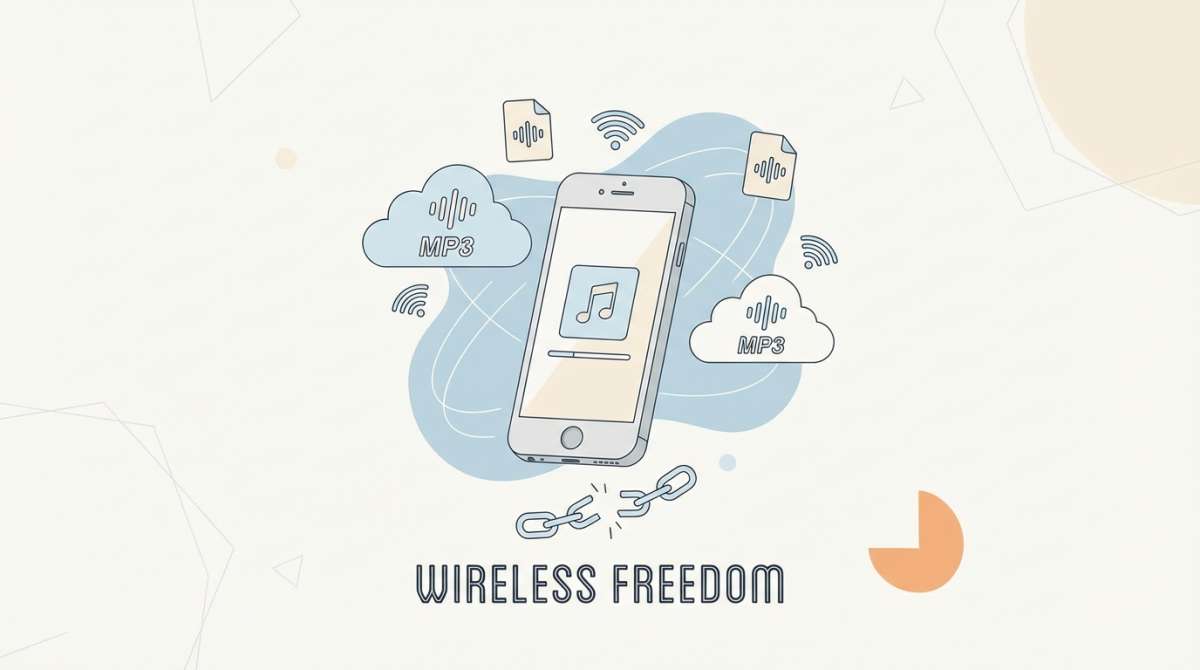
How to Download MP3 to iPhone Without iTunes (2026 Guide)
How to Download MP3 to iPhone Without iTunes (2026 Guide)
TL;DR
The best ways to transfer MP3s to iPhone in 2026 are:
- Cloud Storage (iCloud/Google Drive): Best for wireless access across devices.
- WALTR PRO: Best for getting music into the native Apple Music app.
- VLC via Wi-Fi: Best free solution for local transfer.
- USB-C Drive: Best for massive libraries on iPhone 15/16 without a computer.
iTunes has long been the default way to manage music on iPhones, but let's be honest - it's clunky, slow, and often frustrating. Whether you're a DJ who needs specific tracks, a traveler building an offline library, or someone with a collection of MP3s from sources outside Apple Music, you shouldn't have to wrestle with iTunes to enjoy your own music.
The good news? In 2026, there are multiple straightforward ways to get MP3 files onto your iPhone without ever opening iTunes. From cloud storage to wireless transfers and direct USB-C connections, you have options that fit your workflow and technical comfort level. Let's walk through the most practical methods.
Quick Comparison of Methods
| Method | Best For | Pros | Cons | Cost |
|---|---|---|---|---|
| Cloud Storage | Wireless access | No cables, works everywhere | Requires internet, no native Music app | Free/Paid |
| Transfer Apps | Native Music App | Seamless integration, metadata | Requires computer, often paid | Paid/Free |
| VLC/Wi-Fi | Free local transfer | Completely free, no cloud needed | Separate app playback | Free |
| USB-C Drive | Large libraries | Fast, offline, no computer | iPhone 15+ only, separate app | Hardware cost |
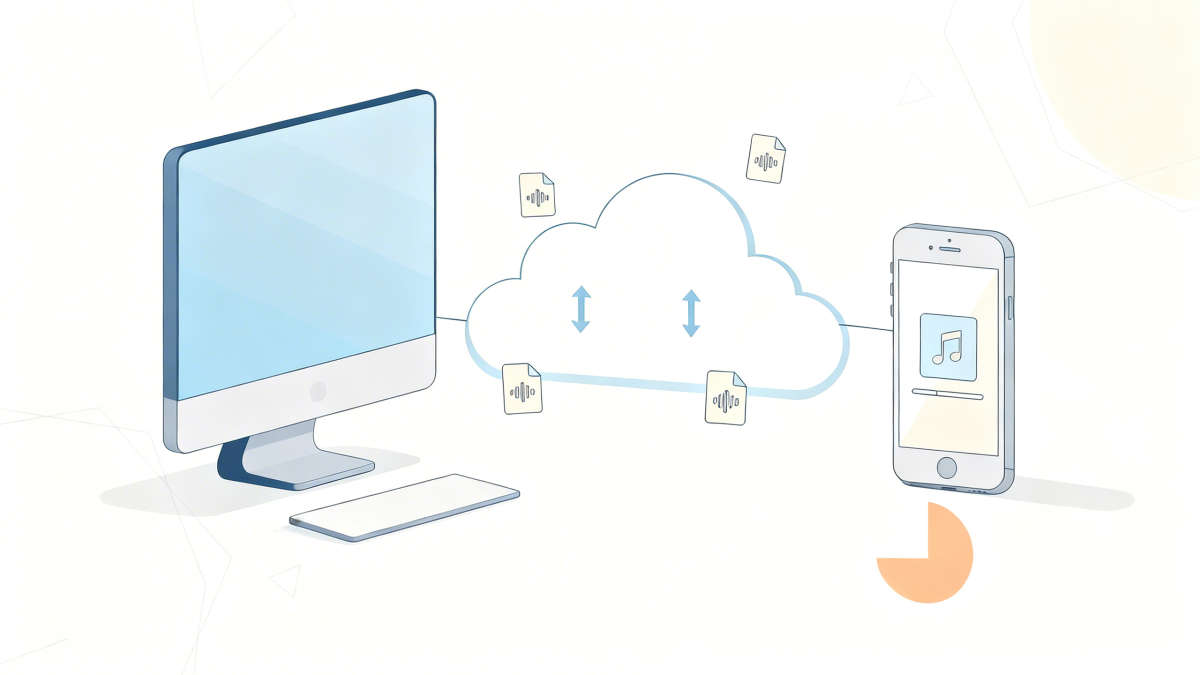
Method 1: Cloud Storage (The Wireless Workhorse)
Cloud storage is the most flexible option if you don't mind using an app other than Apple's native Music app for playback.
What you'll need: A cloud storage account (iCloud Drive, Google Drive, or Dropbox) and the corresponding app on your iPhone.
Step-by-step:
- Upload your MP3s. On your computer, open your preferred cloud storage service and create a folder for your music. Drag your MP3 files into that folder and let them upload.
- Access on iPhone. Open the Files app (for iCloud Drive) or the Google Drive/Dropbox app on your iPhone. Navigate to the folder where you uploaded your music.
- Download for offline playback. Tap and hold any MP3 file, then select 'Download' or the download icon. This saves the file locally so you can listen without an internet connection.
- Play your music. Tap the downloaded file to play it directly, or open it with a compatible music player app like VLC.
Pros: No cables required; works across all devices; your music is backed up automatically.
Cons: Files don't integrate with the native Music app; requires internet for initial download; storage limits may apply depending on your plan.
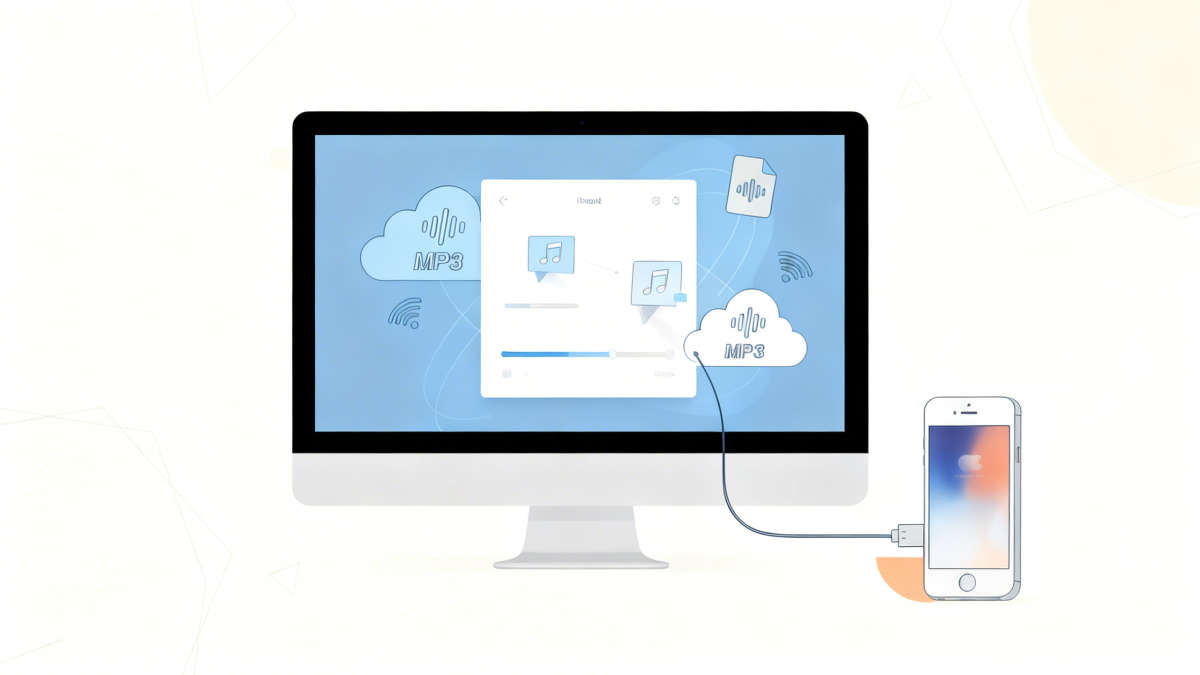
Method 2: Third-Party Transfer Apps (The Power User's Choice)
Want your MP3s to appear in the native Music app, just like songs from Apple Music? Third-party transfer apps are your best bet.
Top options in 2026: WALTR PRO, iMazing 3, AnyTrans, or CopyTrans Manager (free for Windows).
Step-by-step (using WALTR PRO as an example):
- Download and install. Get WALTR PRO from the official website and install it on your Mac or Windows computer.
- Connect your iPhone. Plug your iPhone into your computer via USB cable (or enable wireless sync if you've set it up).
- Drag and drop. Open WALTR PRO. The interface is dead simple - just drag your MP3 files (or entire folders) into the app window.
- Automatic transfer. WALTR PRO automatically converts formats if needed, fetches album artwork and metadata, then pushes the files directly into your iPhone's Music app. No syncing, no library wipes.
- Check your Music app. Open the Music app on your iPhone. Your tracks are now there, organized by artist, album, or playlist.
Pros: Songs integrate seamlessly with the native Music app; supports batch transfers and format conversion; many apps offer wireless transfer options.
Cons: Most quality apps require a one-time purchase (though some like CopyTrans have free versions); requires a computer.
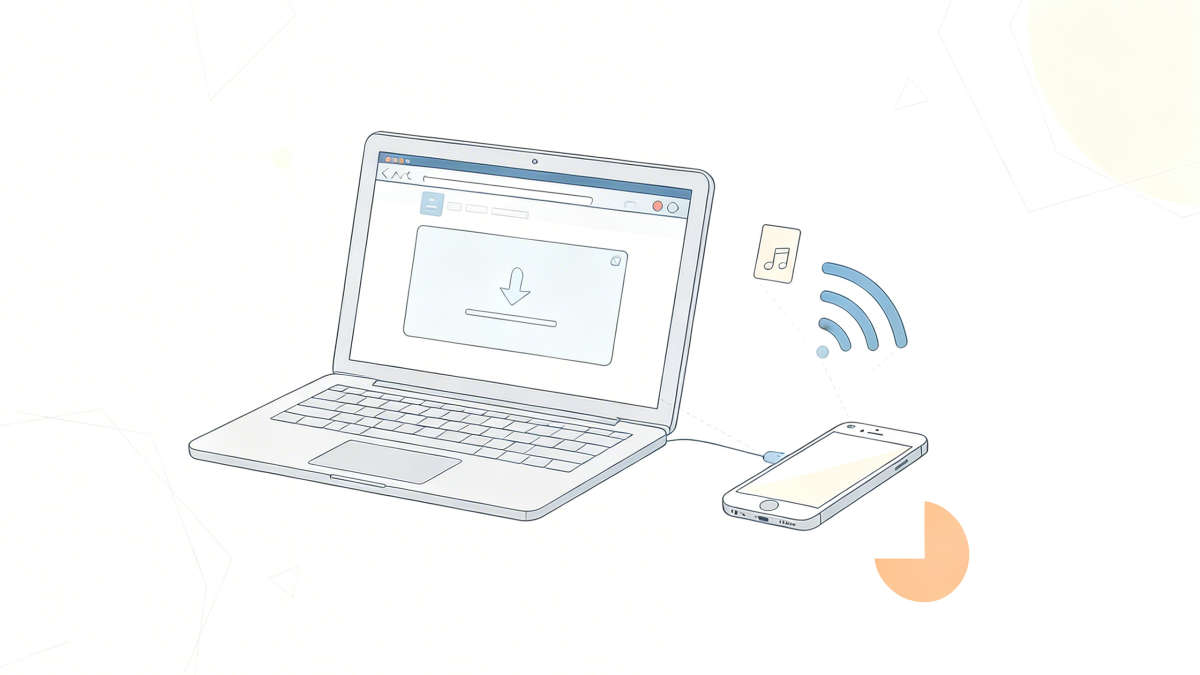
Method 3: Wireless Transfer via Media Player Apps
Don't want to pay for third-party software or mess with cloud uploads? Media player apps with built-in Wi-Fi sharing are a solid middle ground.
Recommended apps: VLC for Mobile (free) or Documents by Readdle (free).
Step-by-step (using VLC):
- Download VLC. Install VLC for Mobile from the App Store (it's completely free).
- Enable Wi-Fi sharing. Open VLC on your iPhone, tap the traffic cone icon in the top left, then go to 'Network' > 'Sharing via WiFi.' Toggle it on. VLC will display a local IP address (like 192.168.1.100).
- Connect from your computer. On your computer (Mac or PC), open a web browser and type in the IP address shown in VLC. You'll see a simple upload interface.
- Upload your MP3s. Drag your MP3 files into the browser window, or use the '+' button to browse and select files. They'll transfer wirelessly to your iPhone.
- Play in VLC. Your files now appear in VLC's library on your iPhone. You can create playlists, adjust playback speed, and use all of VLC's features.
Pros: Completely free; no cables or cloud accounts required; works with any computer on the same Wi-Fi network.
Cons: Playback happens in VLC (or Documents), not the native Music app; requires both devices on the same network.
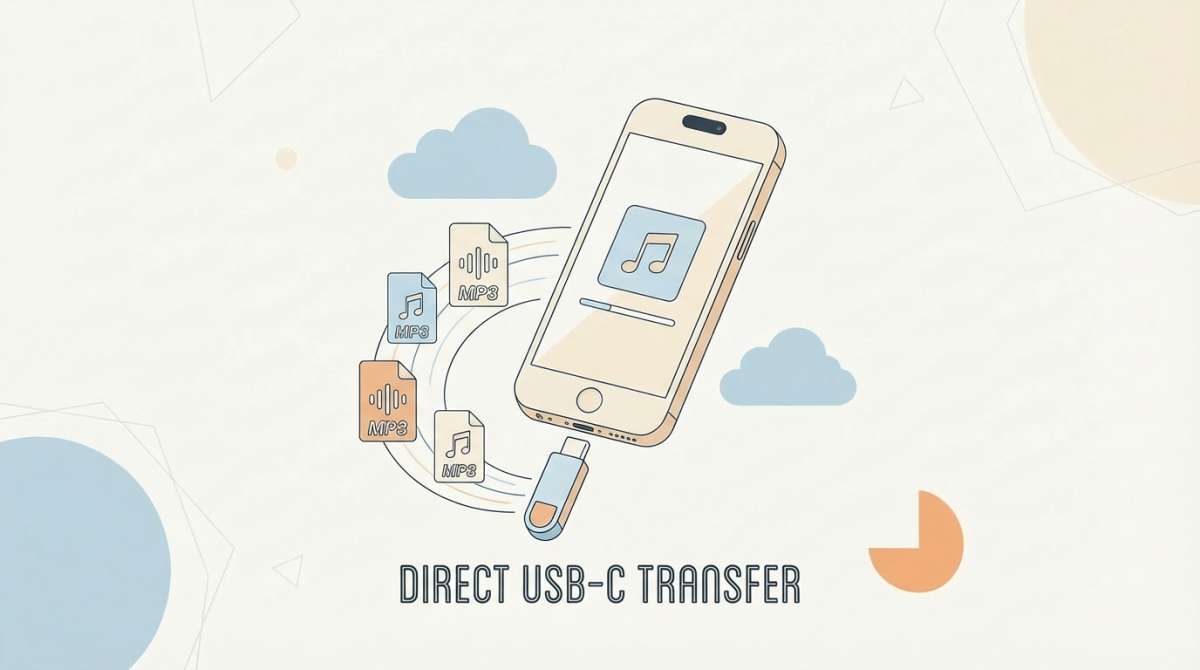
Method 4: Direct USB-C Transfer (For iPhone 15 and Later)
Got an iPhone 15 or newer with a USB-C port? You can skip computers entirely and plug external storage directly into your phone.
What you'll need: A USB-C flash drive or external SSD, and your iPhone.
Step-by-step:
- Load your MP3s onto the drive. Using any computer, copy your MP3 files to a USB-C flash drive or external SSD.
- Plug into your iPhone. Connect the drive directly to your iPhone's USB-C port.
- Access via Files app. Open the Files app on your iPhone. Under 'Locations,' you'll see your external drive listed. Tap it to browse.
- Copy to iPhone. Select your MP3 files, tap the three-dot menu, choose 'Copy,' then navigate to 'On My iPhone' and paste them into a folder.
- Play your music. You can now play these files using the Files app or any compatible music player like VLC.
Pros: No computer needed after initial file preparation; perfect for massive libraries (100GB+); works offline, no internet required.
Cons: Only works with iPhone 15 and later; files won't appear in the native Music app unless you use a companion transfer app.
FAQ
Q: Can I play MP3s in Apple Music without iTunes?
A: Yes, but only if you use a transfer tool like WALTR PRO or iMazing that injects files directly into the iOS media database. Standard file copying (like via AirDrop or Files app) will not make songs appear in the Music app; you'll need to play them via the Files app or a third-party player.
Q: Do these methods work on iPad?
A: Absolutely. All methods described here (Cloud, Transfer Apps, VLC, USB-C) work identically on iPadOS.
Q: Will I lose sound quality transferring MP3s this way?
A: No. These are digital file transfers, so the file remains bit-for-bit identical. Your sound quality will depend on the original MP3 bitrate (we recommend 320kbps) and your playback equipment.
Final Thoughts
You don't need to settle for iTunes' limitations. Whether you choose the simplicity of cloud storage, the precision of third-party transfer apps, the flexibility of wireless sharing, or the independence of direct USB-C transfers, each method puts you back in control of your music library.
Pick the approach that fits your workflow, follow the steps, and enjoy your MP3 collection on your iPhone - no iTunes headaches required.
🎧 MP3s Ready? Now Upgrade Your Player
iPlayer is the ultimate offline music player for iPhone. Enjoy gapless playback, Wi-Fi transfer, and full format support without iTunes.
Download iPlayer Free